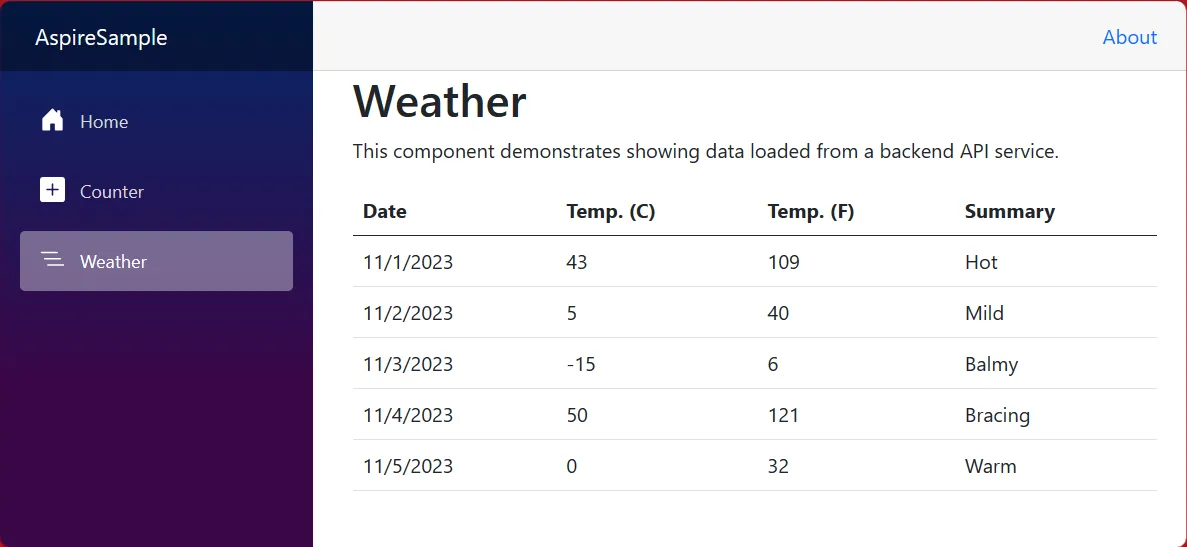
Weather Page, IEvangelist, MIT License, via GitHub
Setup CI/CD in .NET Aspire with Github Actions
Prerequisite
Read through Helm Releaser and .NET Aspire Intro
Goal
Use my sample application as a reference for configuring CI/CD with your .NET Aspire app.
Tech Stack Overview
- (Optional) TailwindCSS - CSS Framework
- (Optional) DaisyUI - Component library for Tailwind
- (Optional) Redis for caching
- (Optional) .NET Aspire Admin dashboard for metrics, tracing
- .NET - integrate C# code inline with HTML/CSS for responsive rendering, C# code behind for core logic
- .NET api service
- .NET Aspire - AppHost handles api service to website communication, service defaults (telemetry, tracing, health checks, service discovery), and testing.
- Aspir8 - Used to generate manifests for deploying to Kubernetes
- Github Actions - Continuous integration/Continuous deployment (CI/CD) workflows:
- CI: Restore -> Build -> Test -> Generate Helm Chart -> Push -> Create Pull Request
- CD: Release helm chart and publish GitHub Release
- Talos Flux Cluster - Kubernetes cluster running on bare-metal Talos Linux machines
- Renovate - Automatically creates pull requests diffs provided by flux when installed apps are updated.
Instructions
- Build out the .NET Aspire demo app you created previously until it meets your requirements.
- Optionally enable the redis cache and admin dashboard.
- Make sure GitHub actions has appropriate read and write permissions. Go to your repo > Settings > Actions > General > Workflow permissions > Check ‘Allow GitHub Actions to create and approve pull requests’ > Save.
- Copy the structure of the build and release files in the sample application’s workflows directory.
- Here’s how those workflows work:
CI/CD Flow
aspire-build.yml:
- New feature commit is pushed to main branch.
- Github actions runs CI workflow: Project is built, tested, helm manifests generated, and then a pull request is made on a new build release branch.
- Pull request is reviewed manually and merged if approved. Build branch is deleted.
chart-release.yaml:
- CD workflow runs and publishes the helm chart on github pages in the github-pages branch. The new build is released as a GitHub release.
- After CI/CD completes, Renovate will run on schedule and pick up the newest release if there is one. Renovate then creates a pull request showing the flux local diff for the new version.
- Once manually reviewed and approved, the existing helm release is automatically upgraded in Kubernetes and the application can be accessed externally as soon as the new resources become available.
Install app in Kubernetes
- In your Talos repo, navigate to kubernetes > flux > repositories
- Create a HelmRepository resource containing the url of the helm chart hosted on github pages:
---
apiVersion: source.toolkit.fluxcd.io/v1
kind: HelmRepository
metadata:
  name: <reponame>
  namespace: flux-system
spec:
  interval: 2h
  url: https://<github-username>.github.io/<reponame>
- In the same directory, edit
kustomization.yamland add the path to the new HelmRepository resource:
- ./<reponame>.yaml
- Go to kubernetes > apps > default and add a folder for your app which contains the HelmRelease and kustomization files needed. See here for an example.
- Set the chart version to the version you wish to deploy.
- (Optional) Override chart values if necessary. If you want to expose the app publicly, set ingress to external and provide the appropriate host and externalUrl.
- Commit changes. The application should be deployed by flux! You should now have a complete ci/cd pipeline. Approved merges to your application should automatically create a new release, which will be picked up by Renovate on schedule.
- Renovate creates a pull request diff whenever a new release is published, or by triggering Renovate manually.
Next Steps
See .NET Aspire Postgress Integration to learn how to connect to a .NET Aspire app to an existing postgres database.
References
- .NET Aspire
- Aspir8
- Build your first .NET Aspire solution - .NET Aspire | Microsoft Learn
- helm/chart-releaser: Hosting Helm Charts via GitHub Pages and Releases