OPNsense Router Intro
Introduction
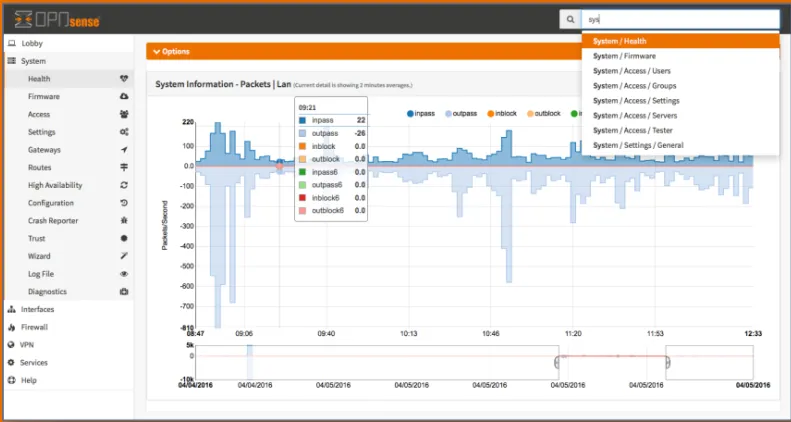
If you are looking for more control over your network, installing OPNsense on a spare computer allows access to all the tools you could need to manage a home network.
I have a mini PC (HP ProDesk 400 G4) running OPNsense as the primary router managing traffic to/from my ISP. I’ve been running this setup for several years, and am verify happy with the performance and stability compared to other consumer grade routers I’ve used in the past. OPNSense has great documentation to get started with a clean install here: OPNsense documentation.
I have my router config regularly backed up to the cloud, you can find instructions in the docs here: Cloud Backup — OPNsense documentation. If you use Google Drive you can do this for free as long as you stay within their 15GB limit. If you use gmail you’re likely already using Google Drive storage, and the backups don’t take up much space. There are options to control how often/how many backups are stored.
I have mine set to save a copy of my config to the cloud every day, and it stores the past 60 days of history in case I need to revert to an older version.
Next Steps
- Read OPNsense’s Hardware sizing & setup guide to determine if your hardware is capable of running OPNsense.
- Then, install OPNsense on your compatible hardware.
- This is the first post in a series on networking with OPNsense, with the goal of supporting a small homelab. If you want to follow along with the series, continue on to Switch Setup For Multiple VLANs.
Interfaces
System
- Create a New Administrator Account
- Disable logging into OPNsense as the root user
- Enable SSH Server
- Enable sudo for non-root user with admin privileges